We are grateful of course, for every sale, but among the most satisfying are when we can help a customer find the right solution(s) directly with them.
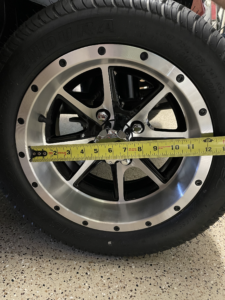
Recently, Scott G. from California reached out to us to ask what size LED wheel light kit might best work with his 2018 Yamaha Drive 2 cart and then how best to mount them. The specific rims on his cart (12″ SS Tremor) taper inward to visually display more of the aluminum and better convey depth. This is common for rims so it’s important to recognize that the diameter at the narrowest point across the rim is key in considering the appropriate size of wheel light rings. In this case, the narrowest point is right around 11″ or maybe less and 11″ wheel light rims might be partially or fully hidden from direct view. (This not necessarily a deal breaker as the lights are so bright that the effect will still be very pronounced.) But it is something to consider.
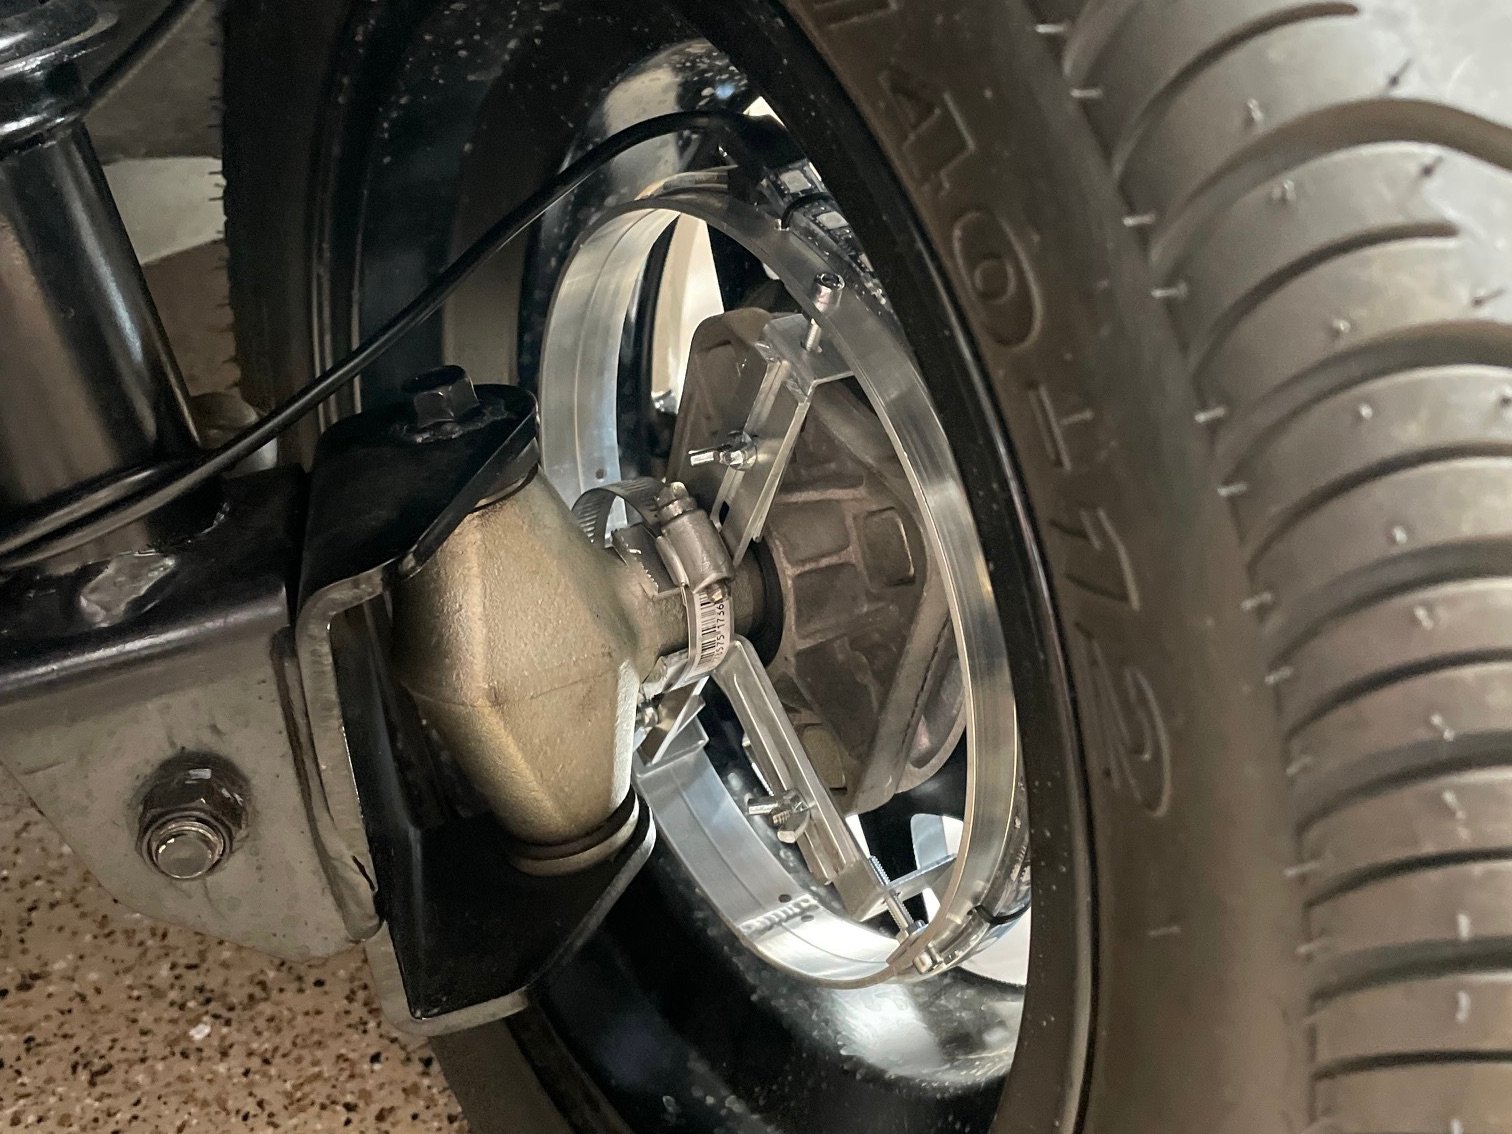
Ultimately, Scott decided to go with our custom 8″ diameter LED wheel lights to have them fully unobscured. They turned out to be a perfect size to frame the spindles and rear brake drums and allow the rings to shine through one of the most open parts of the rim in all their glory.
The Challenges
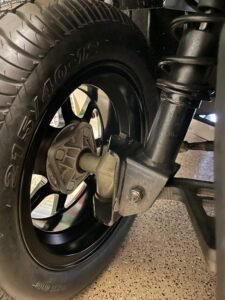
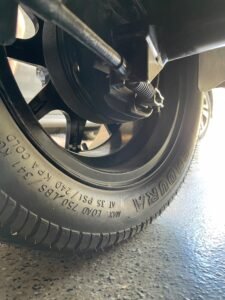
Next we discussed installation. Different cart manufacturers can have widely different ways that wheels connect to the rest of the cart and any number of parts around or near the rims that need to be worked around. In addition, front wheel assemblies can differ greatly from rear wheel assemblies, and occasionally there can even be differences between left and right wheels. We exchanged a couple more calls, several texts trading photos, measurements and markings and even a few videos along the way. And in the end we determined that both the front and rear LED rings appeared could be mounted on this particular cart using a modified (shortened) version of only one of the three brackets normally in our standard installation kits (3 for each wheel for a total of 12). So we agreed to put together a custom installation kit with with 12 “front” style brackets for Scott along with all the other attachment hardware.
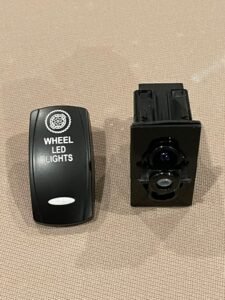
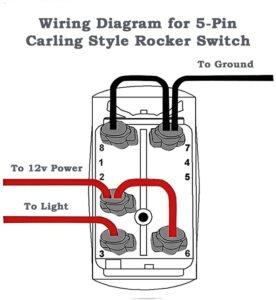
Scott opted to add one of our rocker switches (with our custom laser etched LED wheel light labeling) with blue backlights to turn the wheel lights on and off. He asked about the rocker switch 5 pin wiring and we walked him through it and provided a chart. We got his custom kit assembled and tested the next day (and sent him a video of it running along with the custom install bracket kit and switch ready for shipping). We gave a few last tips like making noting the direction the lights will flow when installing each wheel and that afternoon his order was on its way.
The Specifcs
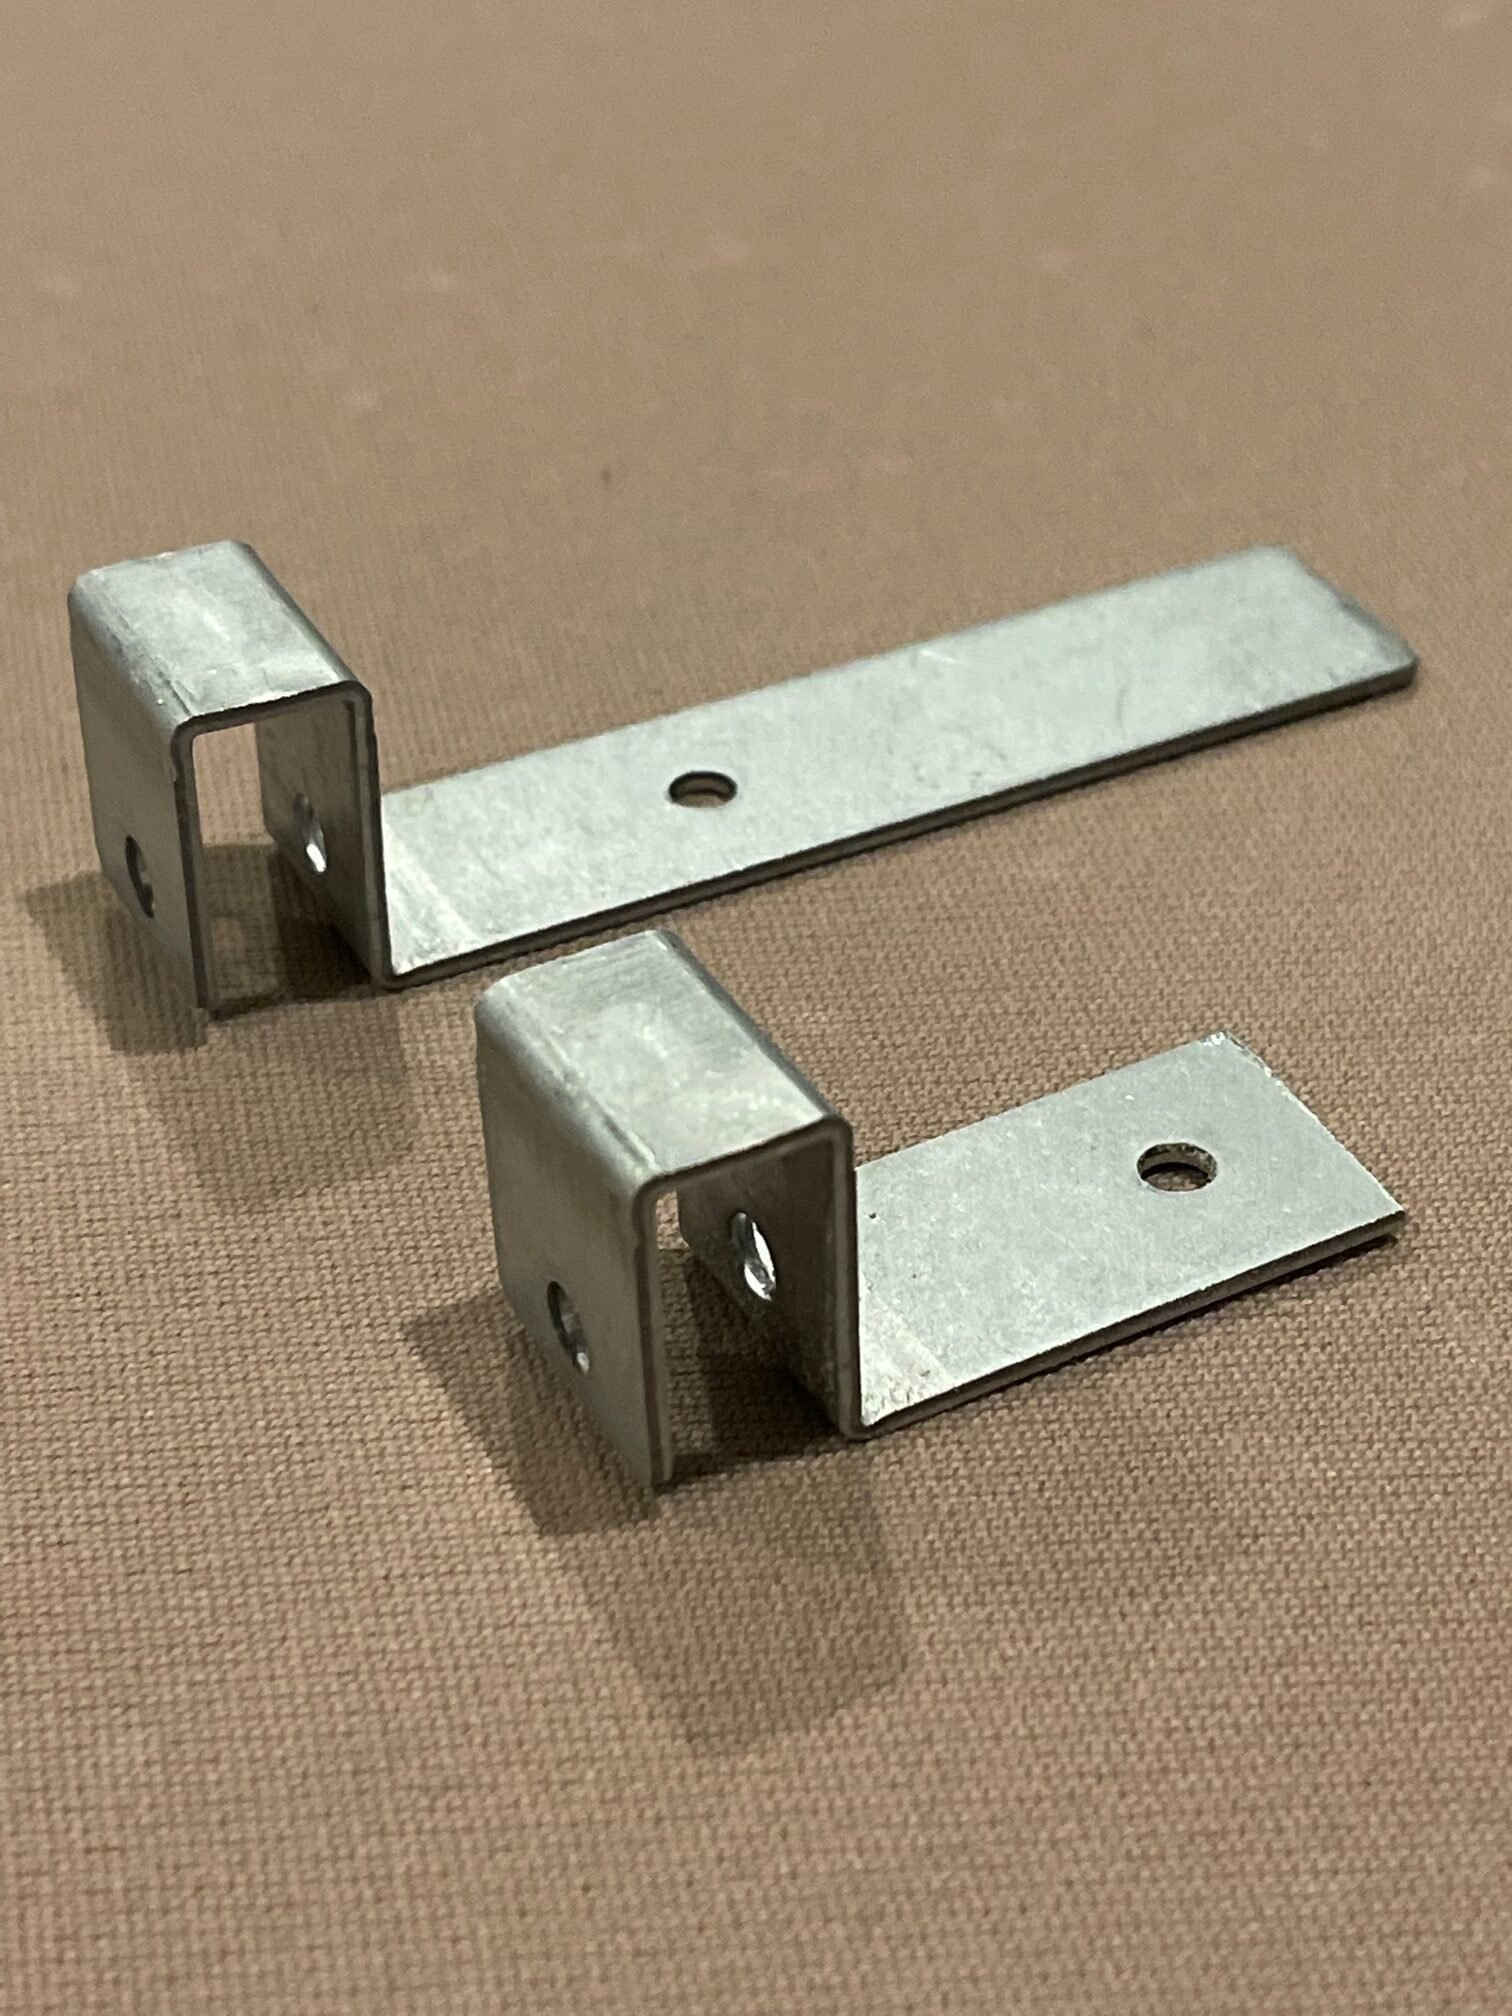
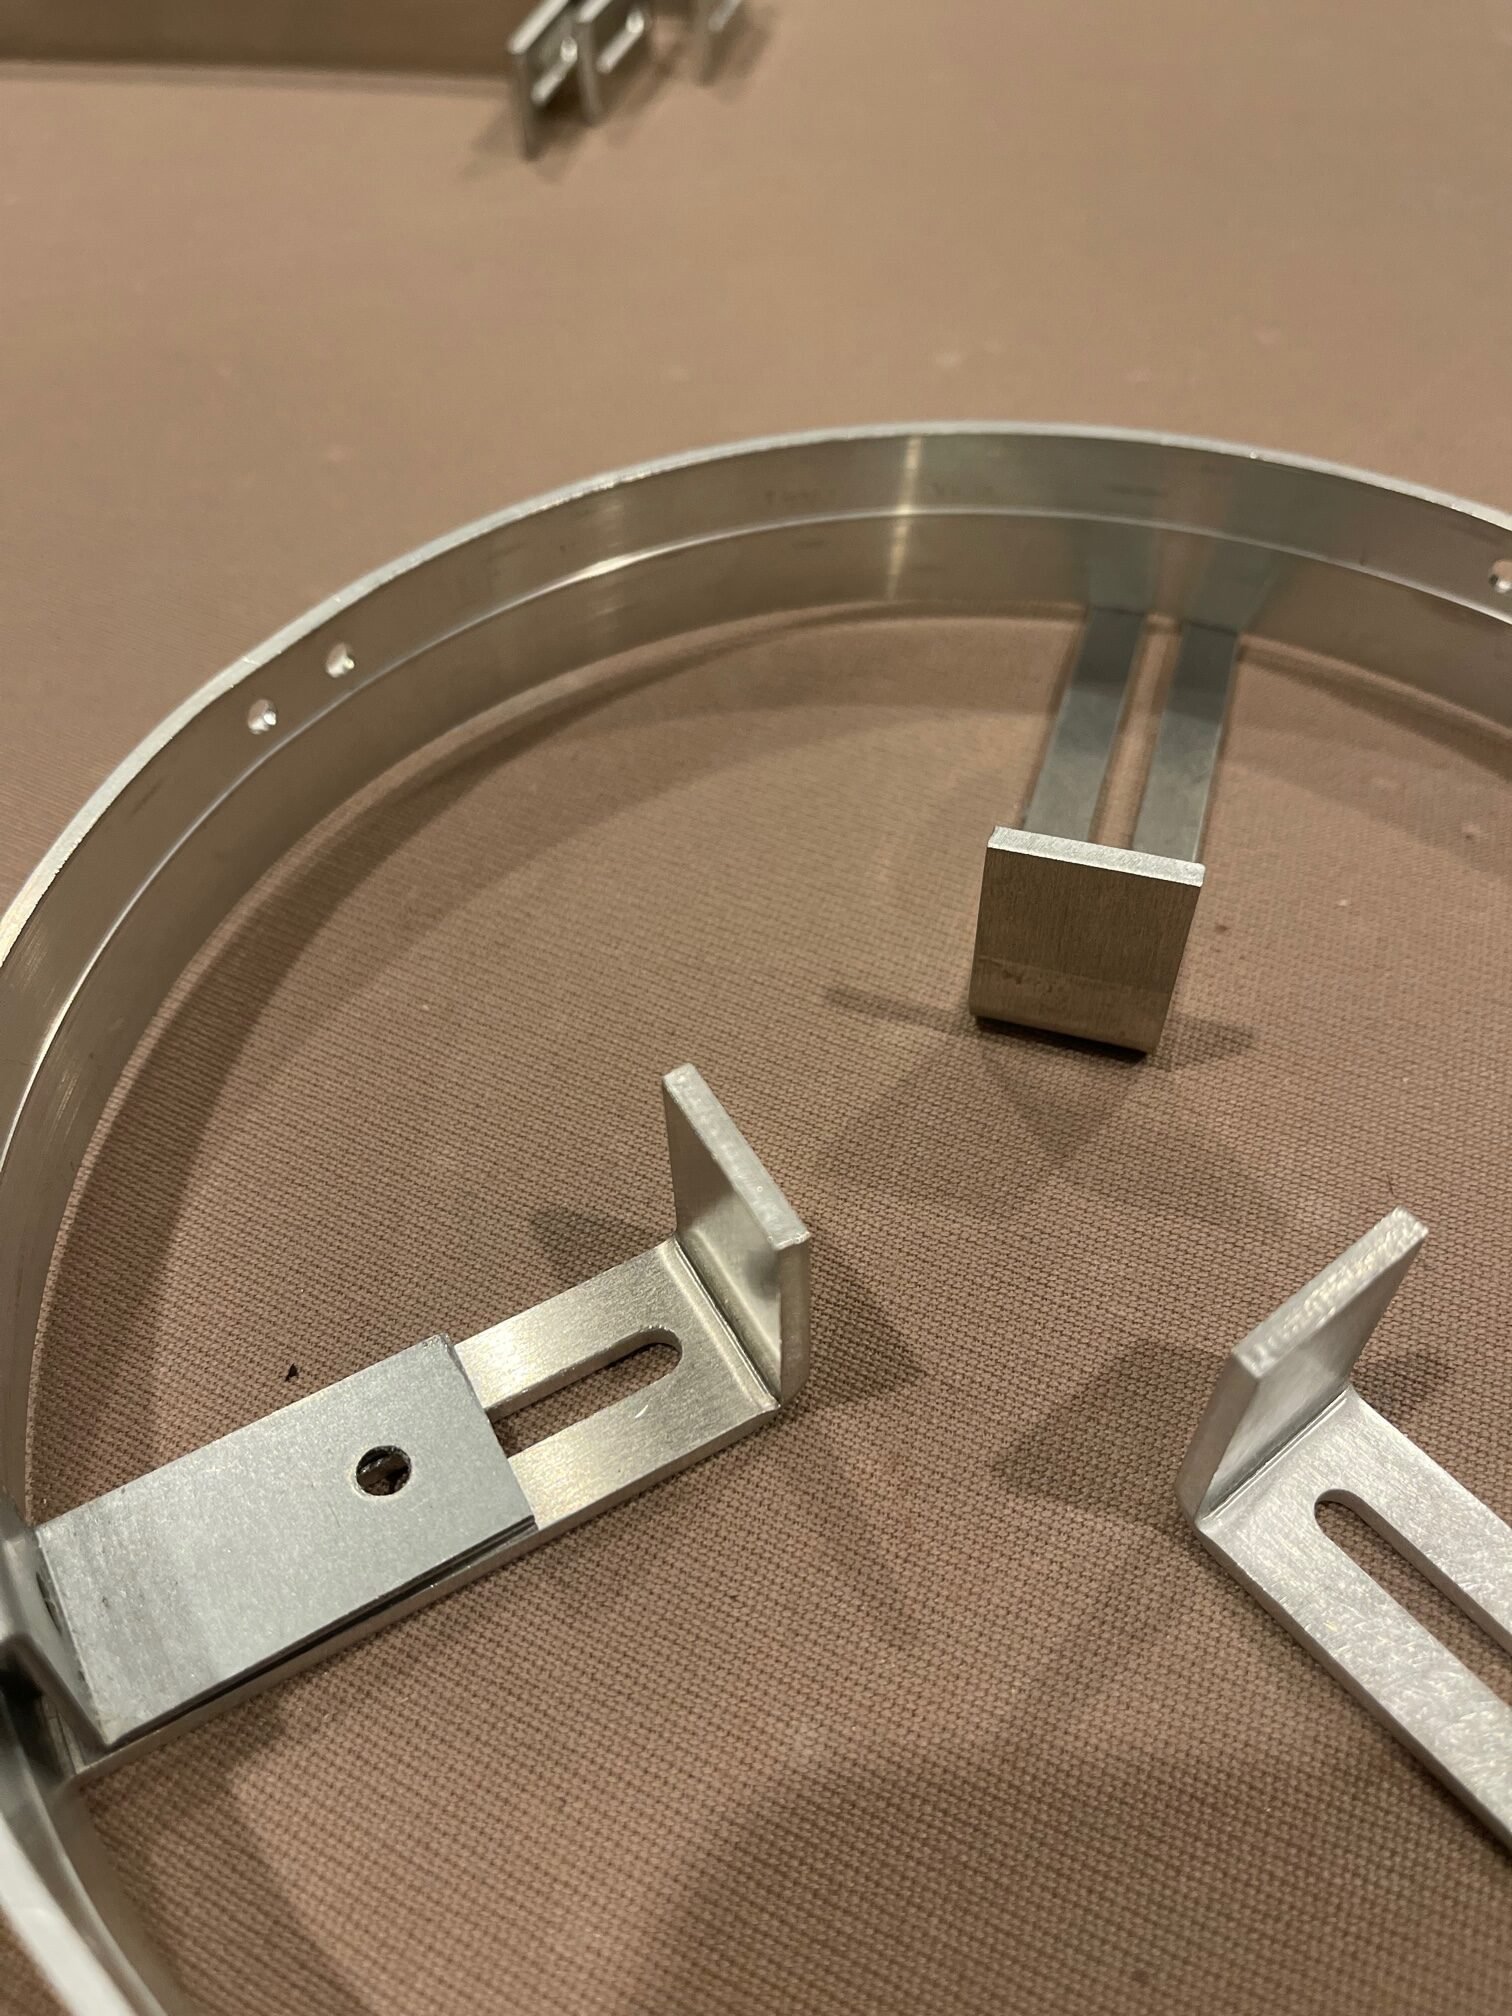
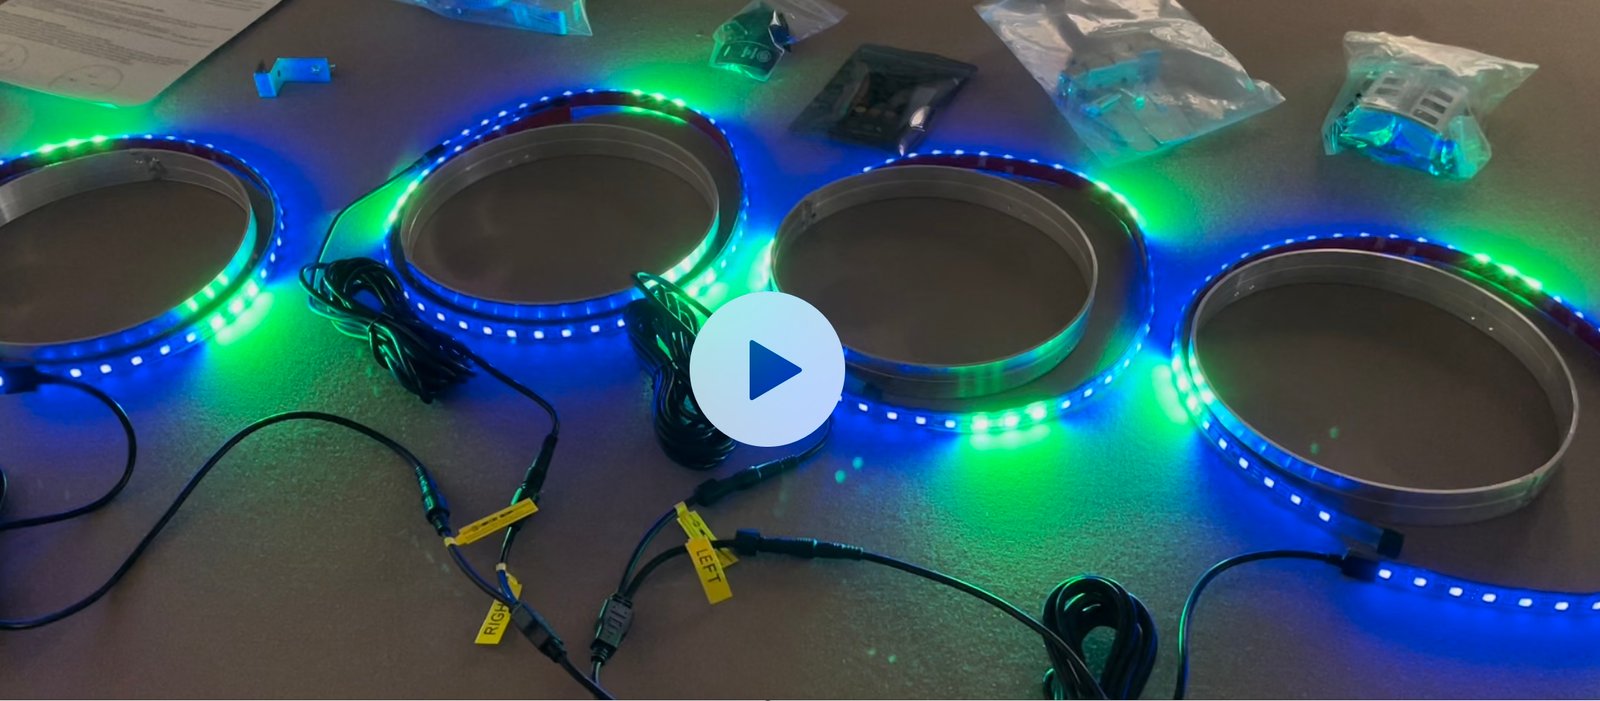
We had discussed that our “Signature” light kits (like this one) support turn signal and brake light function but have no recollection of any in depth discussion of how to tie into to those systems to enable the features. Apparently not necessary with Scott. A few days after we shipped his order, we received this video of his install in progress. He had everything wired up and running perfectly.
Progress
The Results
Yesterday we received a text from Scott with no narrative and just a video showing-off his cart running his new lights at night. We responded back that it looked fantastic and we contacted today and asked if he’d share a backside picture of the installation of one of the 8″ LED wheel rings with custom clamps and brackets and he kindly obliged. One of the aspirations for the install that we had discussed was his desire to really get the lights in close, even “within” the spinning rim itself to the extent possible and it looks like he was able to pull that off well. Hats off to Scott for a great install and many thanks for him allowing us to share his story. Below is the video Scott shared of his cart sporting its new custom LED wheel lights with turn signal and brake function. We never get tired of seeing finished installs.
